
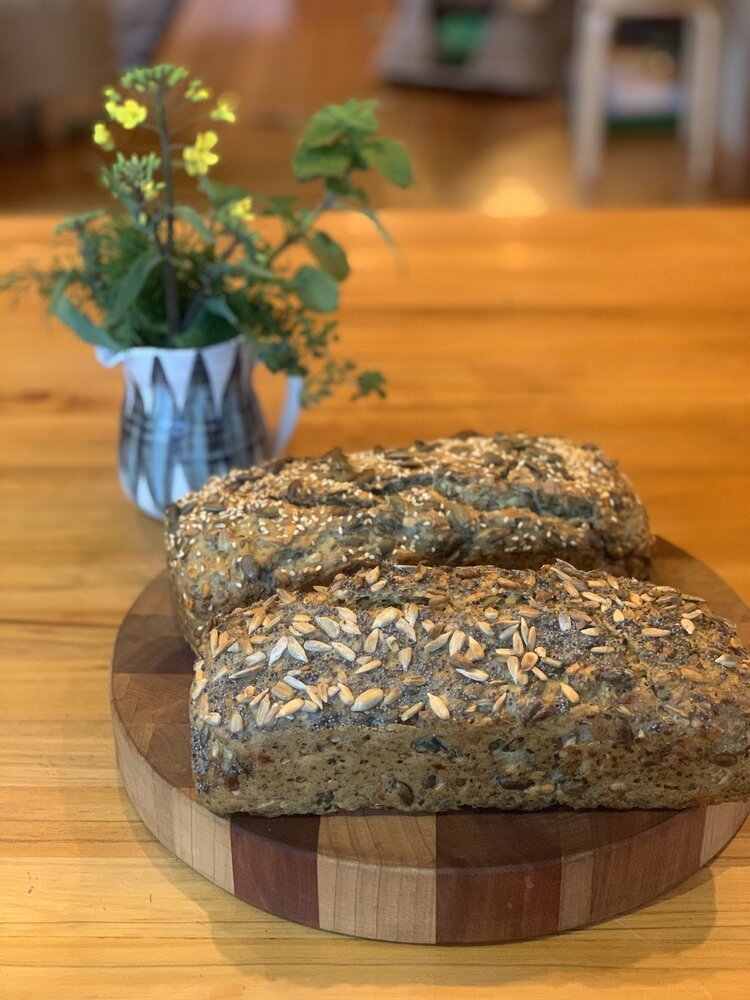
Gluten Free Sunflower, Pumpkin, Chia, Hemp & Linseed Sourdough
I have made this recipe once a week for a couple of years and thought it couldn’t get better. However, I forgot the bread in a bowl overnight and then thought I would just pop it in some tins and hope for the best. And it was the best. The ingredients are exactly the same. This is just an updated technique and I think it makes the recipe easier.
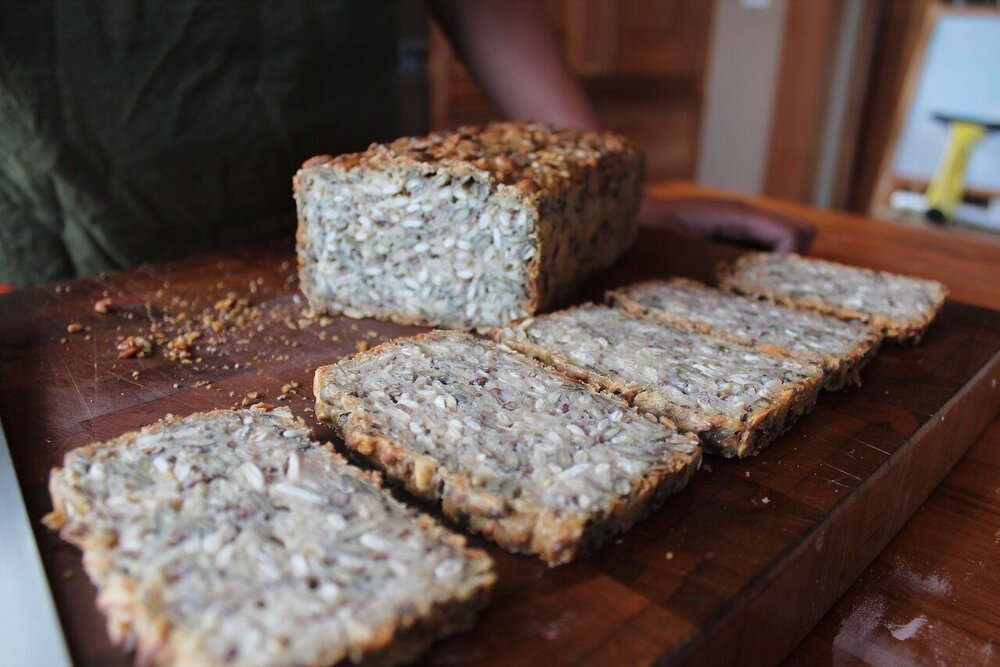
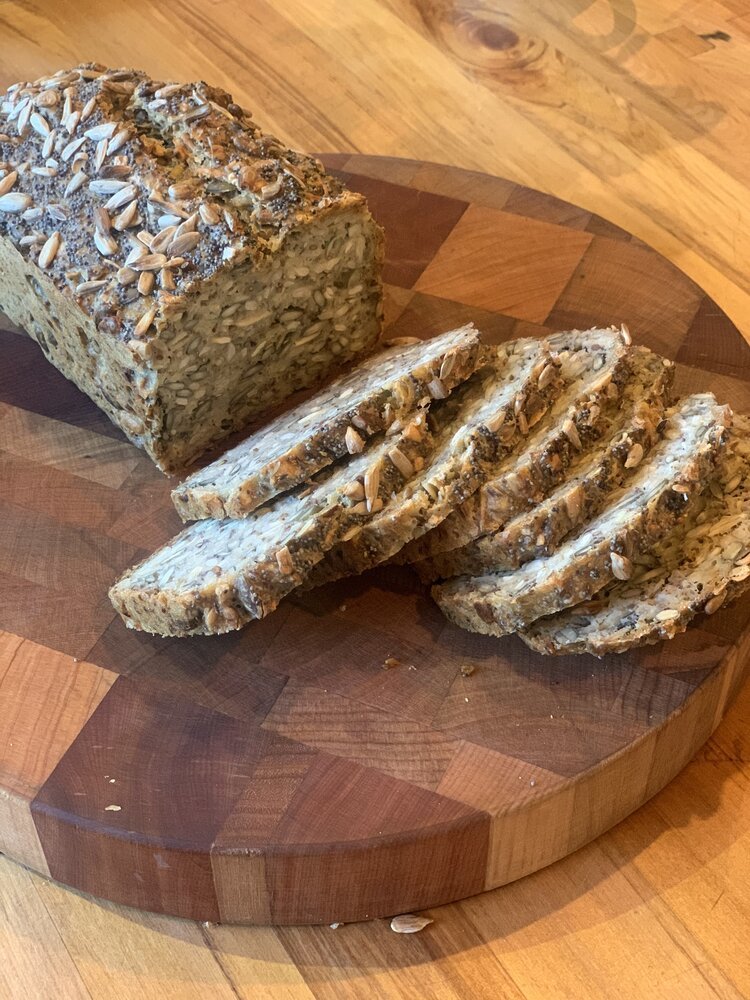
This recipe is your friend if you are wanting to try a most stunning loaf of delicious, gluten free sourdough. This loaf is seedy and nutrient dense, (think a seedier version of Vogels) but it still appeals to younger family members. You have brown rice and tapioca flours and an array of seeds, pumpkin, sunflower, hemp, linseed and chia seeds, which are then sprouted and activated. SO good!
It is super easy to make, no mixer needed. Fabulous fresh (mostly on the first and second days) and equally fabulous toasted. I wanted to make something nutrient dense (meaning every bite is packed with micronutrients and minerals), sustainable (reduce plastic by making homemade) and also increase the household intake of naturally fermented foods through using a sourdough starter.
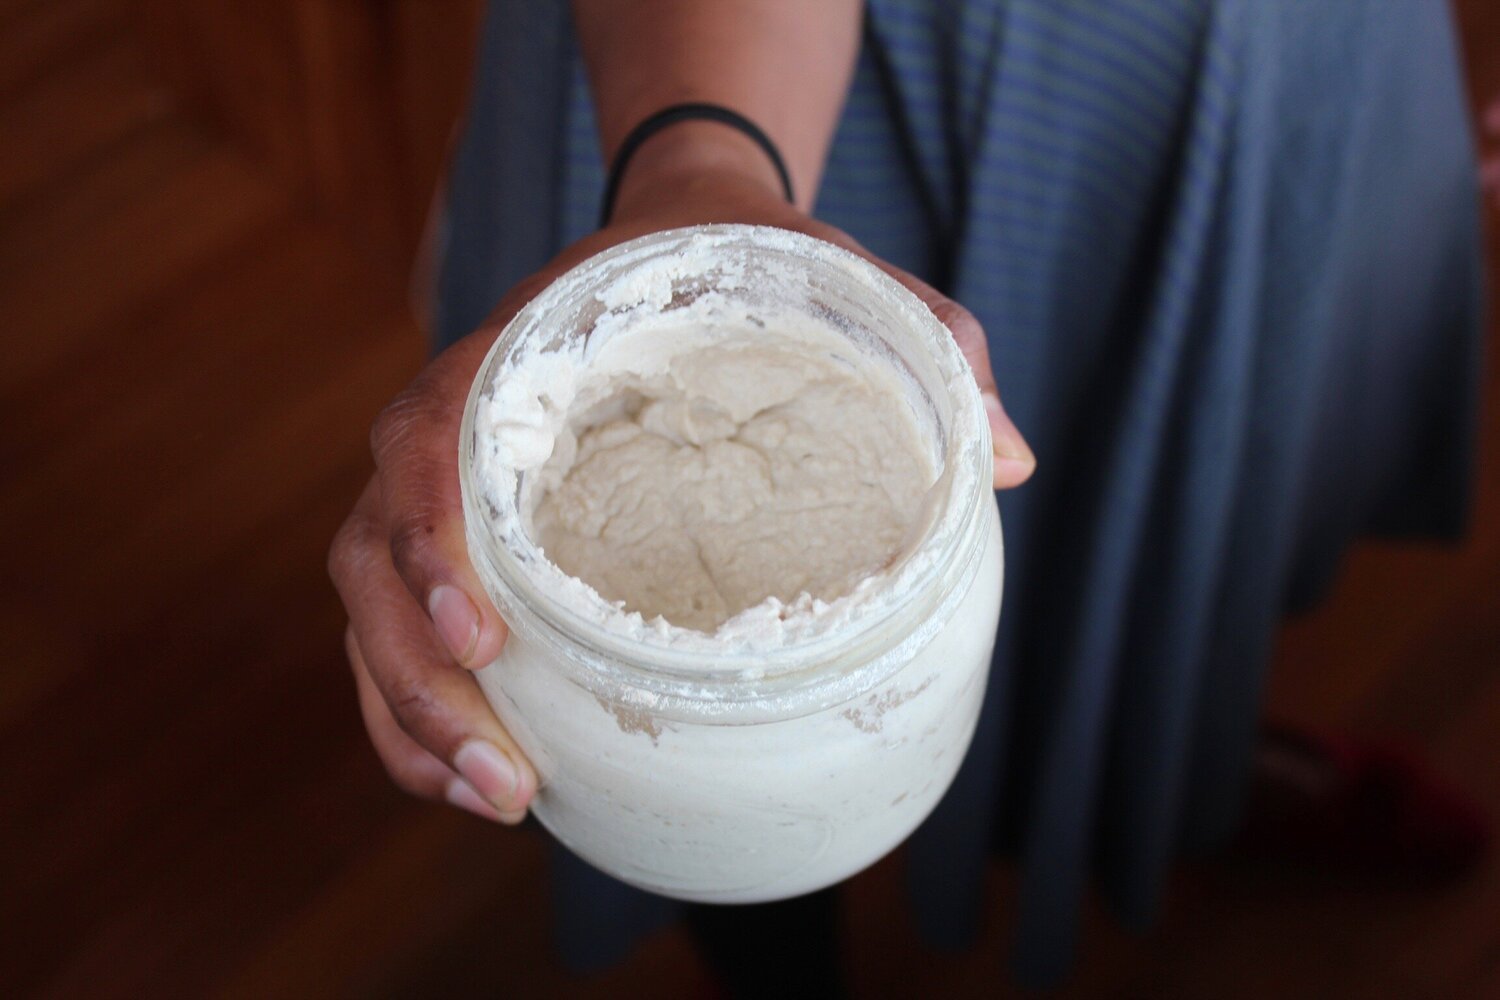
Making sourdough involves the upkeep of a sourdough starter. When it isn’t in use, it lives in the fridge. I remove mine from the fridge in the morning, feed it with 4 tbsp brown rice flour and 70ml water around 6 hours later it is bubbly and active. After it has been used, it must return to its home in the fridge until next time (unless you bake daily then it will happily live at room temperature). Here is a recipe for sourdough starter with a gluten free variation on Nicola Galloway’s Homegrown Kitchen website.
Sourdough is great for a number of reasons… The lovely flavour, better keeping properties and a beautiful crust. The nutritional benefits of making sourdough are that that wild yeasts break contain lactic acid which breaks down the phytates in the flour and seeds. This process makes the nutrients in the seeds more bioavailable, so we absorb and digest as many of the of the nutrients that we possibly can from the foods we eat. This is also why historically many culinary traditions would soak, rinse (and often sprout and ferment) their seeds, grains and pulses.
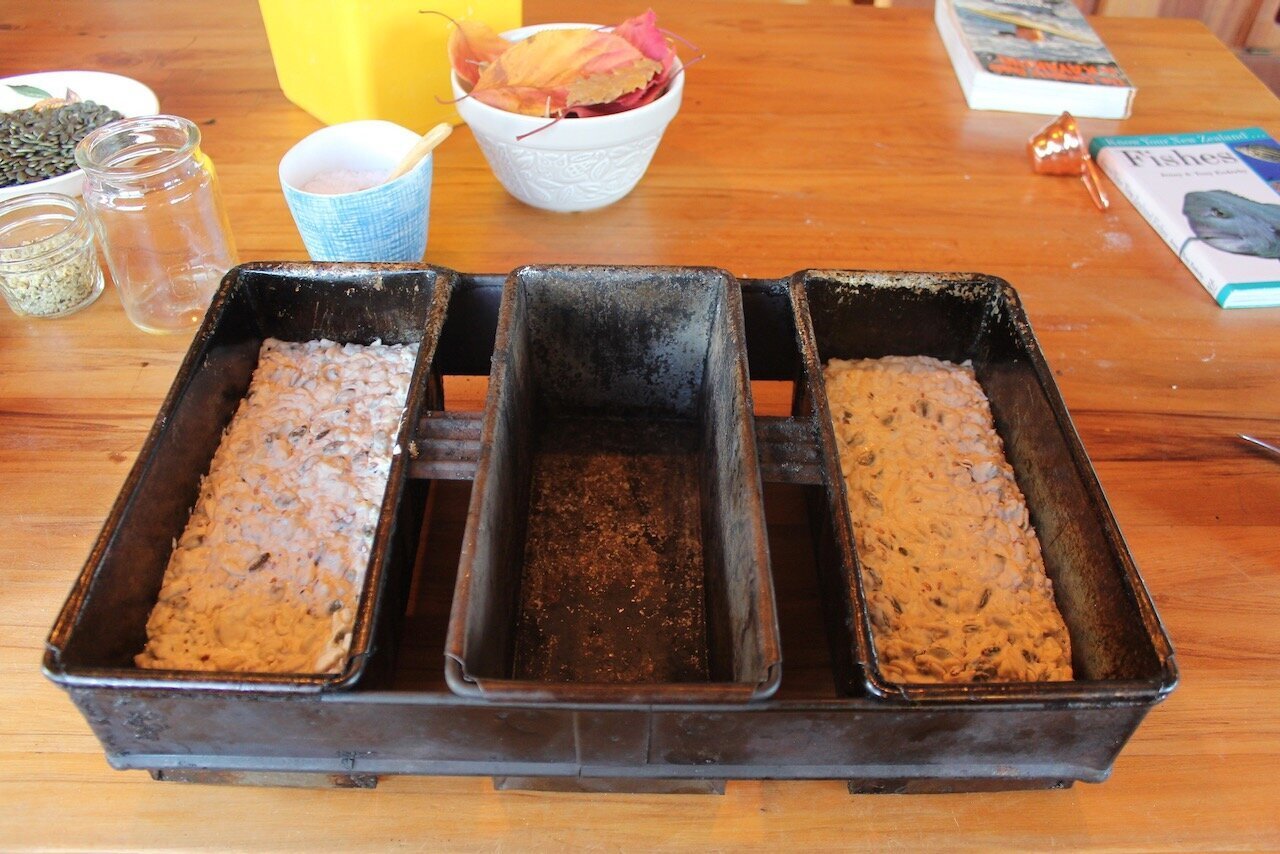
Use any metal loaf tin that you have. I use my dad’s tins. He was a professional baker for 35 years and must have used them thousands and thousands of times. These are looking a bit old but they are fabulously heavy and work really well. Old cast iron tins are definitely worth a trademe search.
Ingredients (makes 2 loaves):
Feed sourdough starter approximately 6-8h beforehand
2 level tsp Salt
3 1/2-4c of Water (begin with 3 and 1/2)
1/2C or 3 Heaped Tbsp of Gluten Free Sourdough Starter
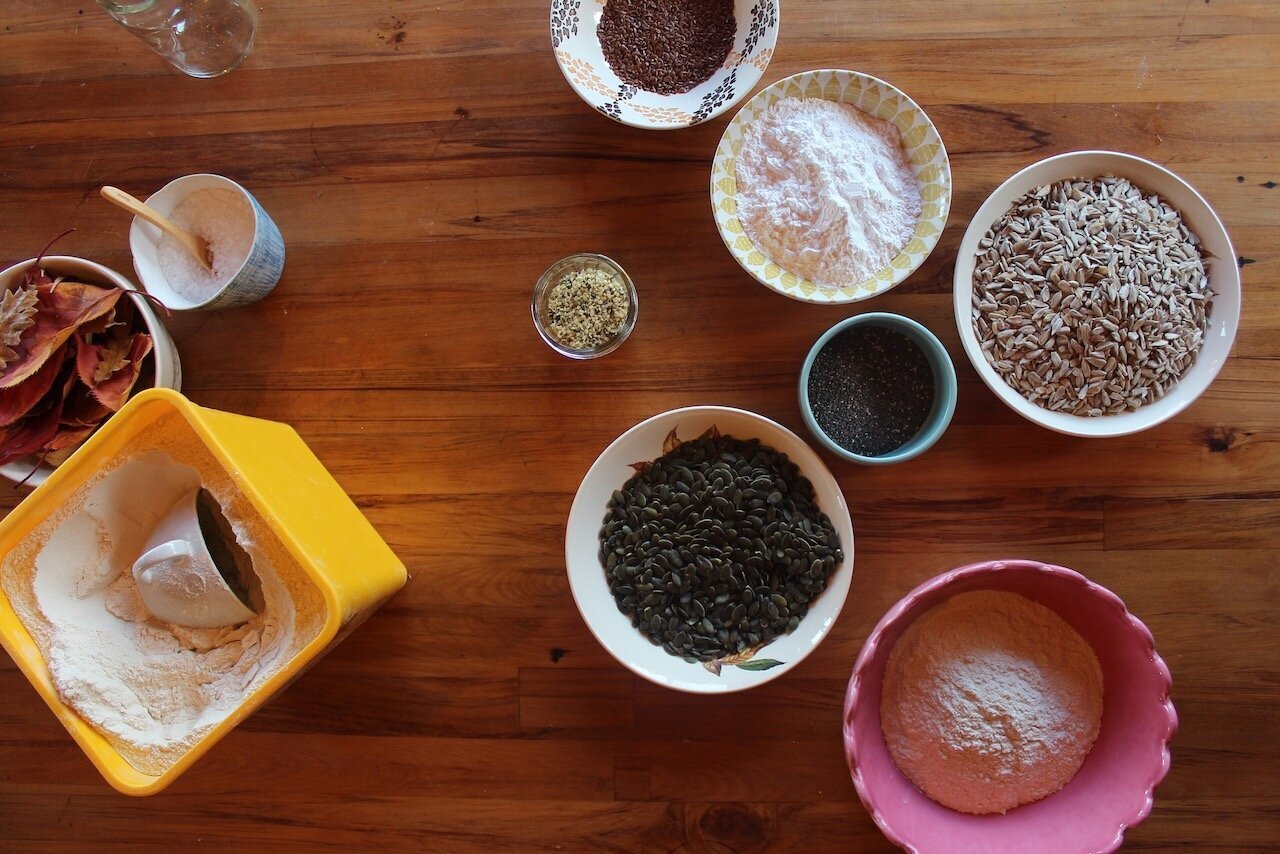
Dry ingredients
2c Brown Rice Flour
1c Tapioca Flour
2c Sunflower Seed
1c Pumpkin Seeds
1/3c Hemp Seeds
1/3c Chia Seed
1/3c Linseed
Instructions:
Make the dough
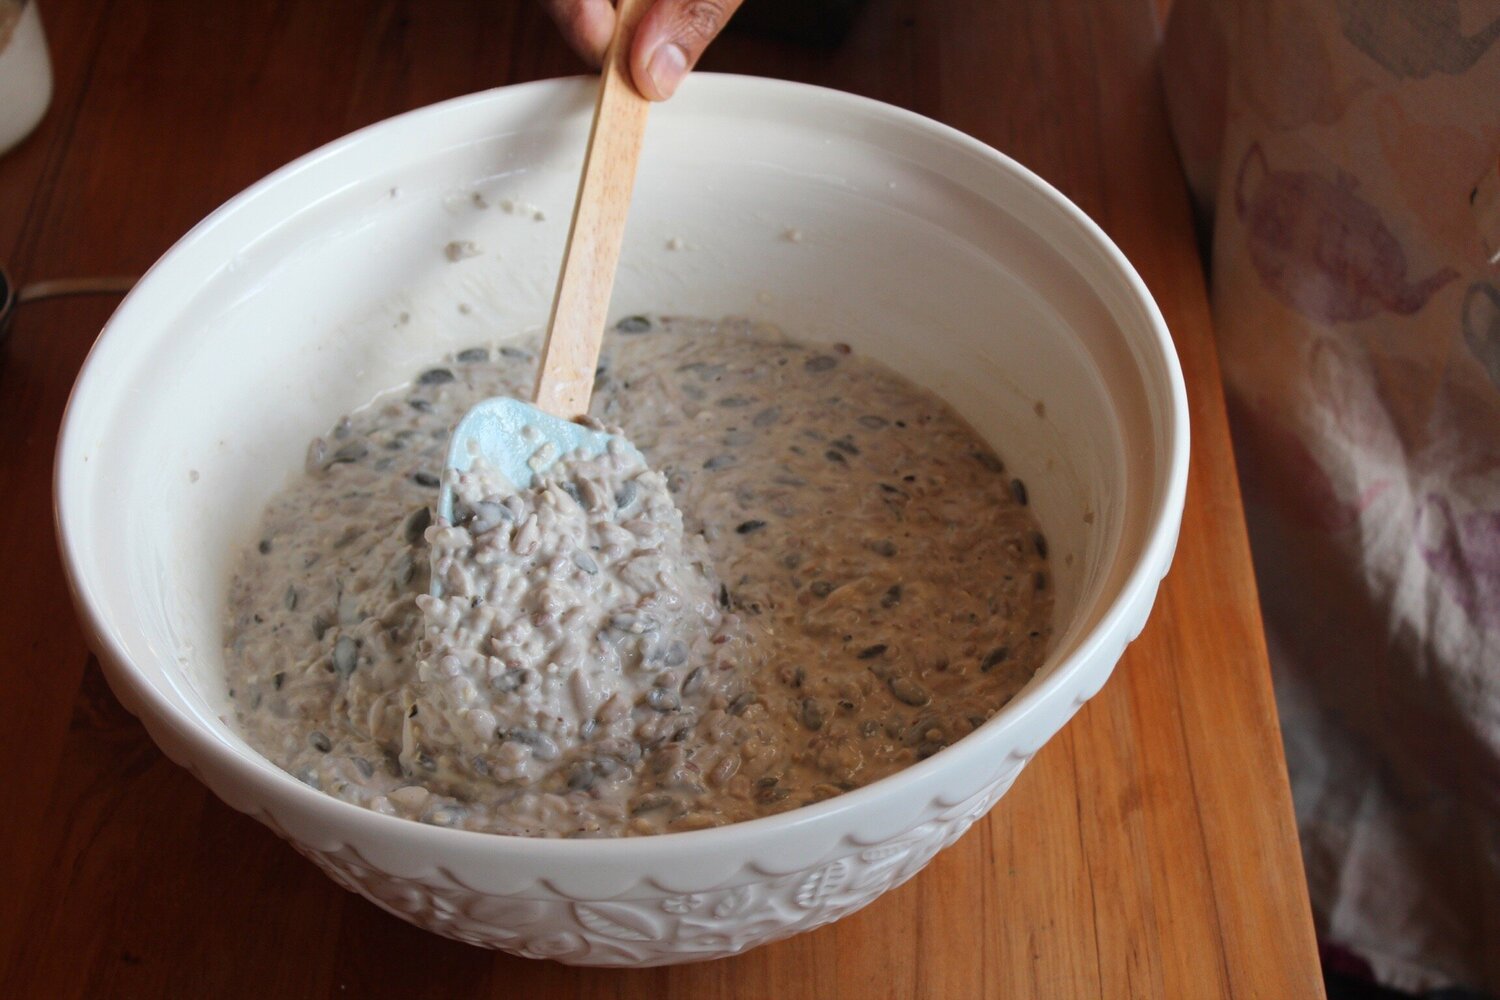
Pour the water into the main mixing bowl, add salt and the sourdough starter. Add the dry ingredients and stir everything together. This is going to be a really wet mixture but after resting for some time the chia and other seeds will absorb the water so don’t worry. Allow to rest for 6-8 hours (i.e. all day or overnight)
Give the dough a good stir. A LOT of the water will have already absorbed in that time and it will look more porridge like. The consistency should be of a think porridge, not too difficult to stir. If you find that it is not easily poured into the tins then slowly add some water until it is readily poured like a thick batter into the bread tins.
Preheat the oven to 220 degrees. Put a tray at the base of the oven. Oil two 2x25cm loaf tins or equivalent. Give the dough a final stir. Divide the mix between the tins, sprinkle with some seeds if you wish and put into the oven.
To assist with creating a lovely rise and crust, I like to recreate a steamy environment of a professional bakers oven and use a squeezy plastic water bottle to squirt water into the hot tray and sides of the oven, just as the bread goes in - Avoid watering the bread.
Bake and Cool
Slide the bread into the very hot oven. Bake at 220 for 20 min then reduce the heat to 180 and bake at 180 for an additional 40 min. Turn the loaves out and place on a wire rack and allow to cool almost completely before cutting. The bread needs to be coolish so that the steam can evaporate, otherwise the crumb will be sticky. This bread lasts really well, at least 4-5 days kept airtight in a cool place.
Enjoy! I would SOOO love to know what you thought of the bread and how the recipe went for you. Please feel to message me on Facebook or Instagram.
Cook time: 60 minutes
Prep time: 12 minutes including 6-8h rest
Feeding starter: 2 min.
Making dough: 5 min
Final mix of the dough and oiling of tins: 5 min
Variations:
I would recommend following the recipe through the first time with the flours and then hitting the seed and flour variations. I would keep with ratios of flours that have similar properties i.e replace the tapioca with something that behaves like tapioca and coconut or buckwheat flours to replace the rice four. You can definitely change the seeds to what you have, although I do recommend keeping the linseed or chia due to their mucilaginous properties i.e. chia and linseed swell in water and become thick and gluey (like many members of the plant kingdom), this gluey quality contributes to the texture and crumb of this loaf.
Sourdough:
It is recommended that you feed your sourdough starter twice, once when you remove it from the fridge and again 6-8 hours later. This bread doesn’t need it. A loaf like this isn’t going to rise significantly due to the number of seeds and I feel there are already enough steps in this recipe. These are the essential steps so that if you like it, you can bake it regularly.